
This Easter, the kids wanted to create some interesting bunny projects, and Emily has been asking for weeks to do some “arts and GRAFTS” 🙂 We wanted them to get to know the real meaning behind Easter, and not just connect it with chocolates and bunnies as most do. So my husband suggested combining the two by spending some time doing fun projects, but at the same time, connect with them where they’re at and tell them about the real reason we celebrate Easter, and do everything else: Jesus.
Age-Appropriate Activities
My children’s ages currently range from 1 year old to 8 years. And they don’t always want to do the same thing, but neither has the patience to sit around and watch someone else do one thing (that is always more fun than the one they’re doing, right?). I also don’t have 70 sets of arms. So my activities needed to be cheap, fun, easy (enough) and stimulating at the same time.
Impossible?
Apparently not. Because it took me less than 5 minutes to find the right ones. And all my projects cost in total was R25. (I already had coloured cardboard at home, and icing powder in the cupboard.) Here are the two budget-friendly Easter activities we did:
CARROT SHAPES
This Easter project was more aimed at the my youngest, but because of the sensory effect it has, all four my children actually took turns playing with it.

The sheet of felt was found at PNA for R6,50. I also got the sand paper from our local hardware shop for R4. (I got the roughest one I could find.)
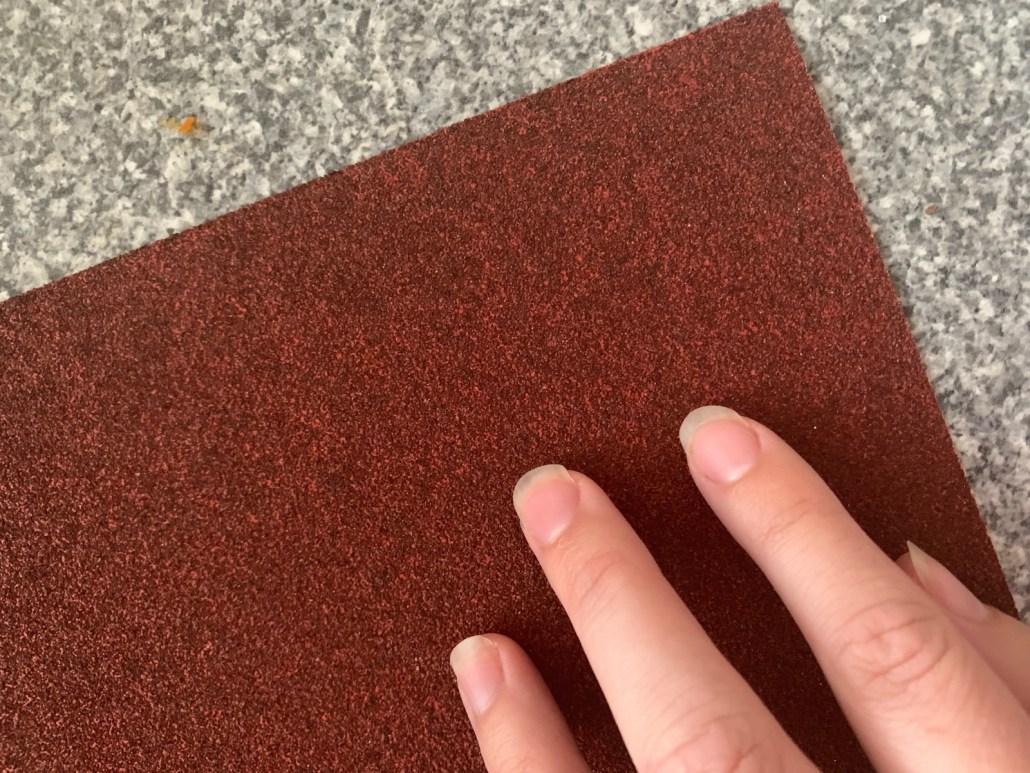
At home, I drew carrots in different shapes with a crayon. (Markers can work as well, but the sand paper’s pieces get stuck in the marker’s tip, and it will never be the same again. Crayons are just waaaaay for forgiving, and the colour more vibrant.)

I continued to cut out similar shapes from the felt. They don’t need to be exact, and a slightly oversized felt shape might just work a little better for the little kids. Anibelle loved getting each shape carrot onto it’s matching friend, and found it especially exciting that the orange shapes stuck and didn’t fall off.


Try this activity with any shape, any colour, or even the letters of their name! (Felt letters, numbers and people found at Crazy Store!)

MARSHMALLOW BUNNY
For this Easter activities you will need:
- bag (or two) of mini marshmallows
- colourful cardboard
- crayon/pencil/something to outline your bunny
- handful of icing powder
- craft eyes (or a piece of candy to use instead)

I found bags of colourful mini marshmallows at my favourite Crazy Store (R12,99), and a bigger bag of white mini marshmallows at Spar (R12.99 as well). Any one of these two would do.

The outline of the bunny was easily drawn on a sheet of cardboard (I thought it would be much harder – but even this non-artistic Mama managed just fine!), and I made a little bit of “glue” with a handful of icing. I added a teaspoon of water at a time to ensure I got the right consistency as glue. It should be runny, but not watery. Think of a thick white gooey glue. We scooped it into a small ziplock bag, and only cut a small corner when we were ready to start our project.

My two eldest kids wanted to “glue” the bunny outline themselves, and it looked fine. The youngest two still needed help with this part. As soon as it is done, they can start sticking mini marshmallows themselves. No one needed my help with this part.
Not even baby, who had to taste-test every second marshmallow, for quality of course!
The icing-glue can dry out a little if you’re not fast enough, but you don’t need to rush. I just re-did the outline when this happened and everyone was happy. The same procedure if one falls off at a later stage.

Each child was super impressed with their project and was able to complete it themselves!


We let it dry completely for an hour (but you really don’t need to wait that long. Or at all! It was made to be eaten, after all!


I hope these two budget-friendly ideas inspires you to try your own hand at this. But let me warn you; those mini marshmallows are addictive! We all ate our fill of those yummy treats while creating these cute bunnies! If you do any of these two, please tag me as I would love to see how yours came out.
Enjoy, and remember that most learning for children takes place through play. So teach those little geniuses, but make sure they’re all having fun! Don’t worry too much about the mess. Life is washable!
Love,
Simone
PS. For other fun projects, try this. Also, if you do any fun sensory Easter crafts yourself, please tag us using the #SAMom_EasterSensoryLoop


 My name is Simone and I am a mom of four, wife to one, and I blog about the joys and experience of living life as a large family.

Thanks for sharing your step by step guide! Now, to try it with my Noah xx
Oh, he’s going to looooove it!